
Step 1: Log In to WordPress
Using your unique WordPress login URL and credentials, sign in to the backend of your website. After logging in, you will be taken to your WordPress Dashboard.
If you have not received your login information, please contact support@kingdombranding.com, and we’ll be happy to help you get access.
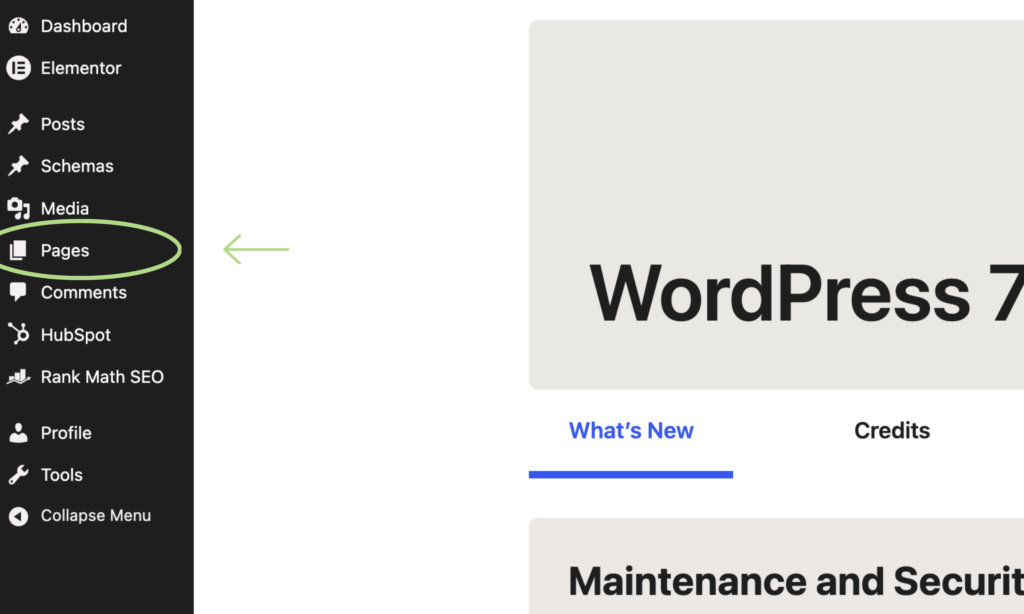
In the left-hand navigation menu, click Pages. This is where all of your website’s pages are stored.
Find the page you want to edit and hover over its title. Several options will appear. Be sure to click Edit with Elementor.
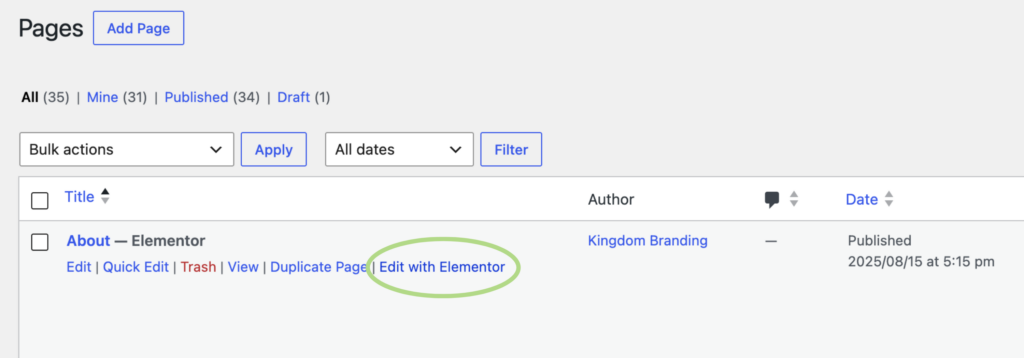
Important: A common mistake is clicking Edit instead of Edit with Elementor. Always select Edit with Elementor to open the page in the visual editor.
Step 2: Edit Your Page in Elementor
After selecting Edit with Elementor, the Elementor Builder will open.
- Left Panel: Contains all of the Elementor widgets and editing options.
- Right Panel: Displays a live preview of your page.

Note: The preview is shown within the Elementor editor, so it may not look exactly like the live website. Because the editing panel reduces the available browser width, some elements may appear slightly different. Don’t worry, this is normal.
Locate the Image
Hover your mouse over the page until you find the image you want to replace. When you’ve selected the correct image, it will be outlined in pink.
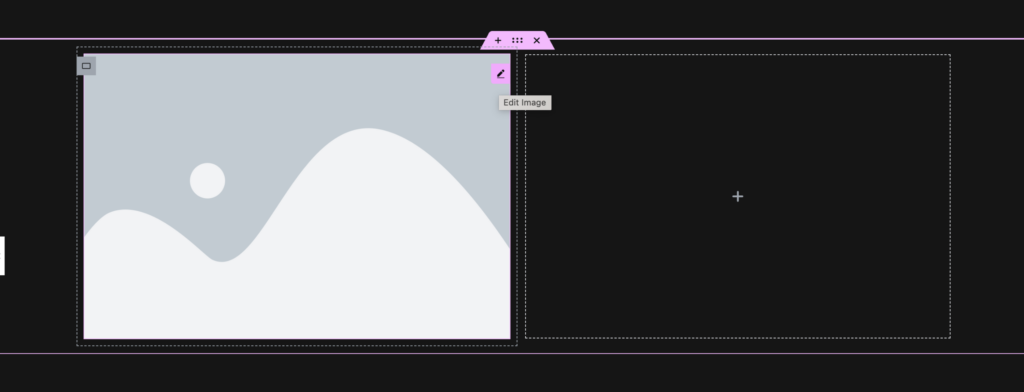
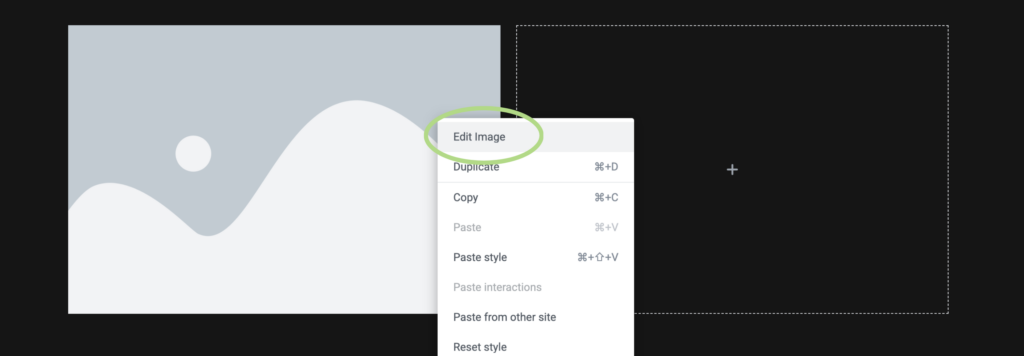
Right-click the image and select Edit Image, or simply click on the image.
Replace the Image
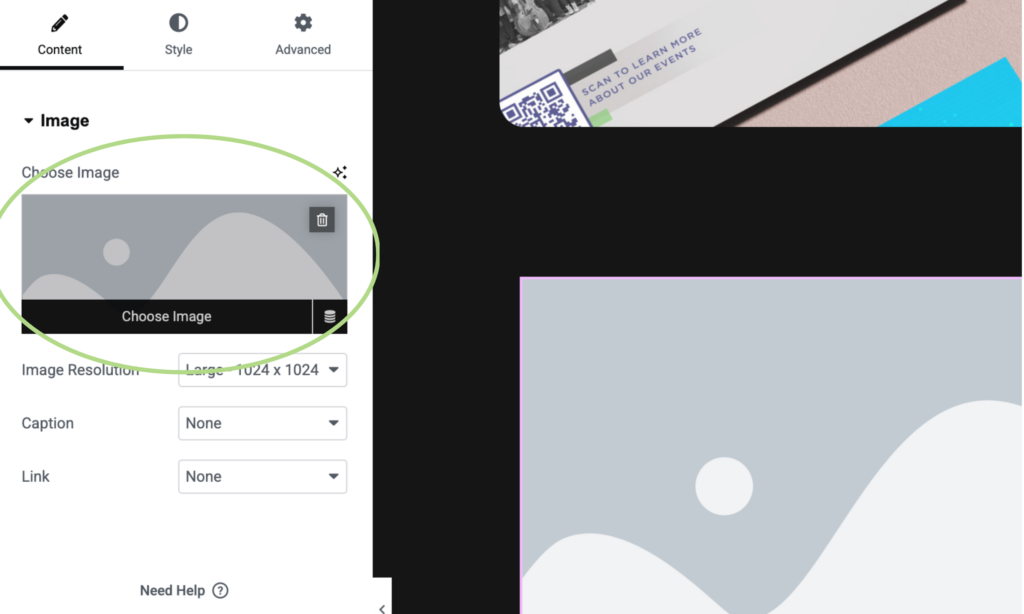
Once you’ve selected the image, the left editing panel will display the image settings.
Click on the current image thumbnail to open the Media Library.
From here, you can:
- Select an existing image from your Media Library.
- Upload a new image by clicking Upload Files and selecting the image from your computer.
After choosing your image, click Insert Media. Your new image will immediately appear in the page preview.
Preview Your Changes
Before publishing, click the Preview (eye) icon near the Publish button in the upper-right corner.
This allows you to review your updated image without making any changes live.

Save as a Draft
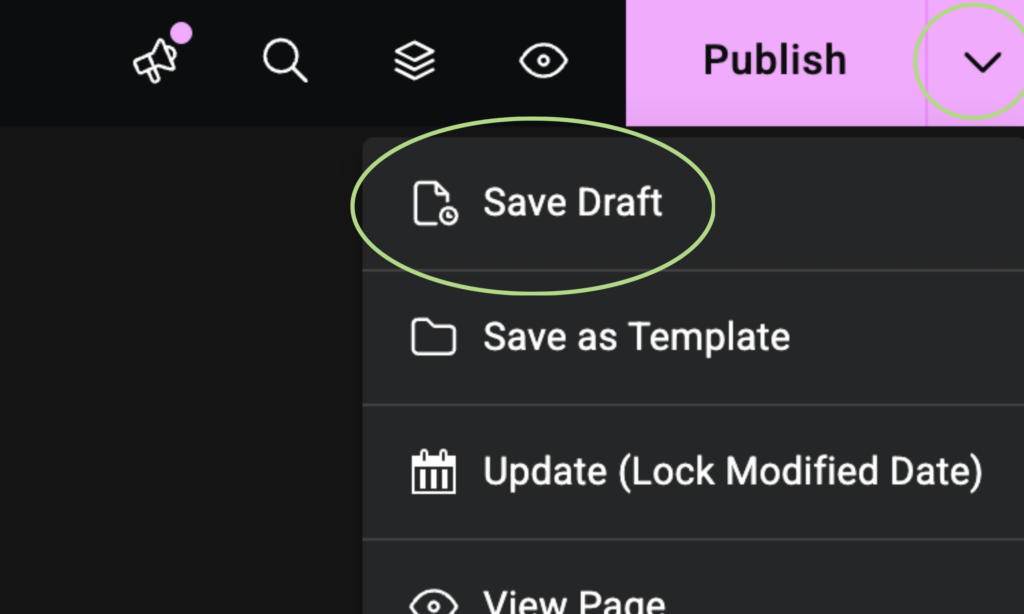
If you’re not ready to publish, click the dropdown arrow next to the Publish button and select Save Draft.
Saving as a draft preserves your work without publishing it to your live website.
Step 3: Publish Your Changes
Once you’ve reviewed your updated image and are happy with the results, click the pink Publish button in the upper-right corner.
Your changes will immediately be published and become visible on your live website.
