step 1: log in to wordpress
Using your unique WordPress login URL and credentials, sign in to the backend of your website. After logging in, you will be taken to your WordPress Dashboard.
If you have not received your login information, please contact support@kingdombranding.com, and we’ll be happy to help you get access.
step 2: navigate to posts
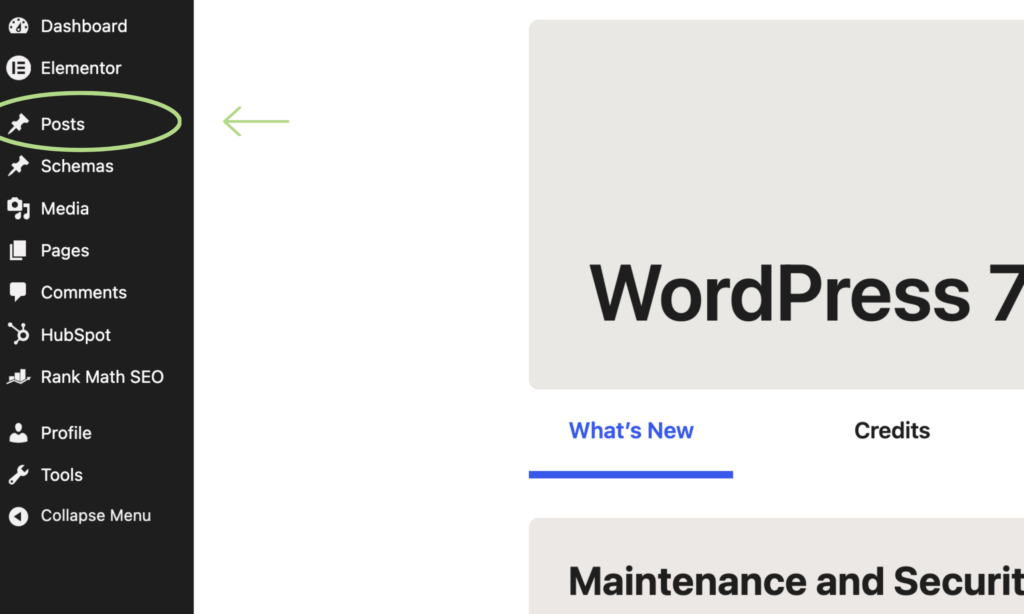
In the left-hand navigation menu, click Posts. This is where all of your existing blog posts are stored and where you can create new ones.
step 3: create a new post
At the top of the Posts page, click Add Post (or Add New) to open a blank post.

From here you can begin building your post:
Post Title & Content
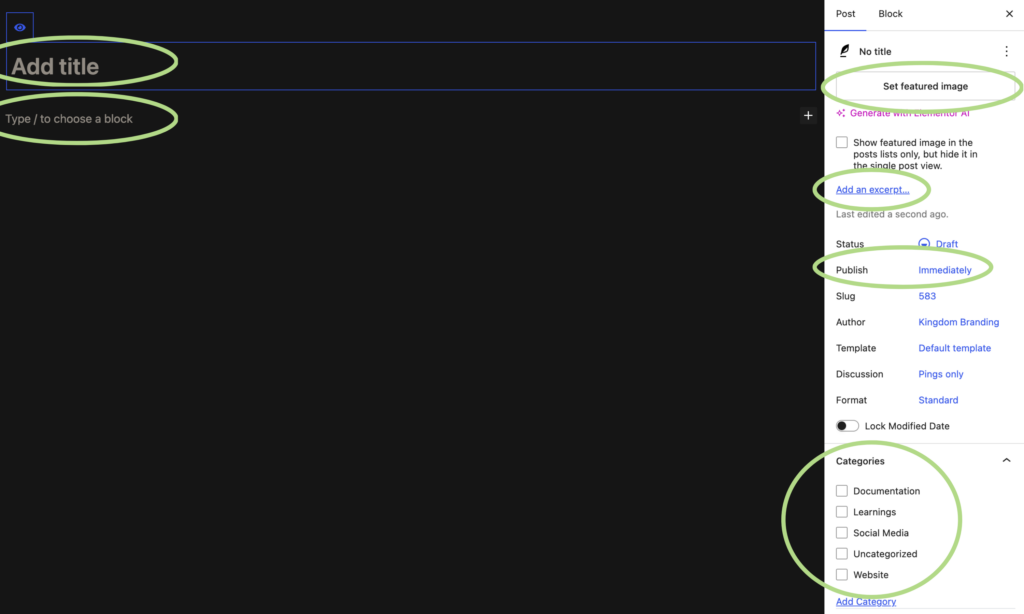
Enter your blog title at the top of the page. Below the title, add the body of your blog post using the content editor.
Featured Image
On the right-hand sidebar, make sure the Post tab is selected (not the Block tab).
Under Featured Image, click Set Featured Image and upload or select the image you’d like displayed with your post. If your website doesn’t use featured images, you can skip this step.
Excerpt
Below the Featured Image section, you’ll find the Excerpt field. This is where you can add a short summary or introduction to your blog post. Depending on your website, this may appear on blog listing pages or in search results.
Publishing Schedule
By default, your post is set to publish immediately.
If you’d like to publish it later, click Immediately next to Publish and choose your preferred date and time. You can also backdate a post if you’re publishing older content.
Categories
If your website organizes blog posts by category, select the appropriate category (or categories) from the Categories section. This helps organize your content and allows visitors to browse related posts.
Tags
Optionally, add tags to describe topics or keywords related to your post. Tags provide additional organization and can help users discover similar content.
step 4: publish your post
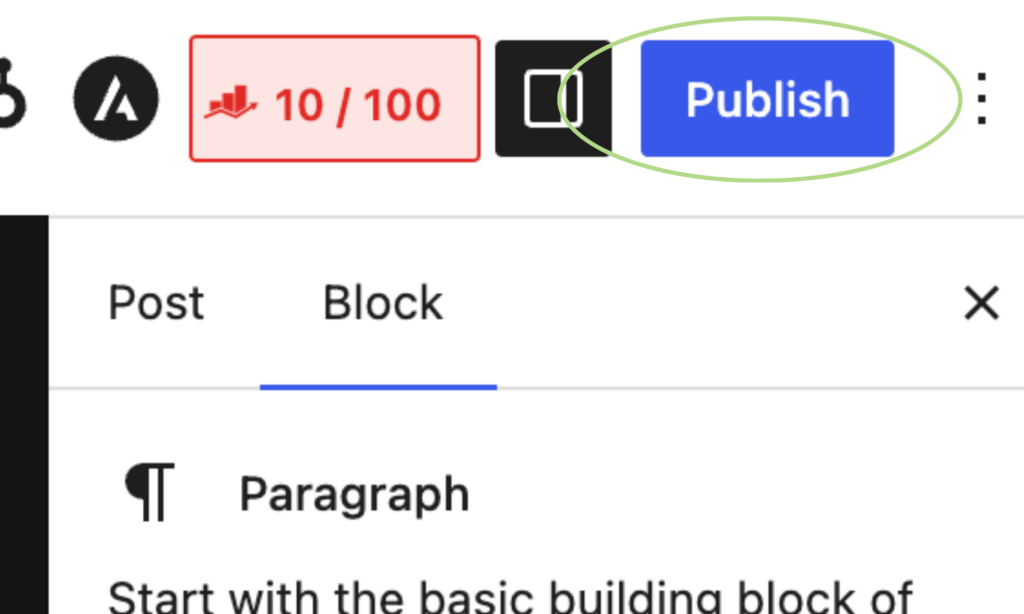
Once you’ve finished reviewing your post, click the Publish button in the upper-right corner. Your post will be published immediately or at the scheduled date and time you selected.
If you’ve assigned categories, your post will automatically appear in the appropriate section(s) of your website.